Loading Spinner
This tutorial will show how to create a simple loading spinner animation.
This highlights how to use the Trim Path feature.
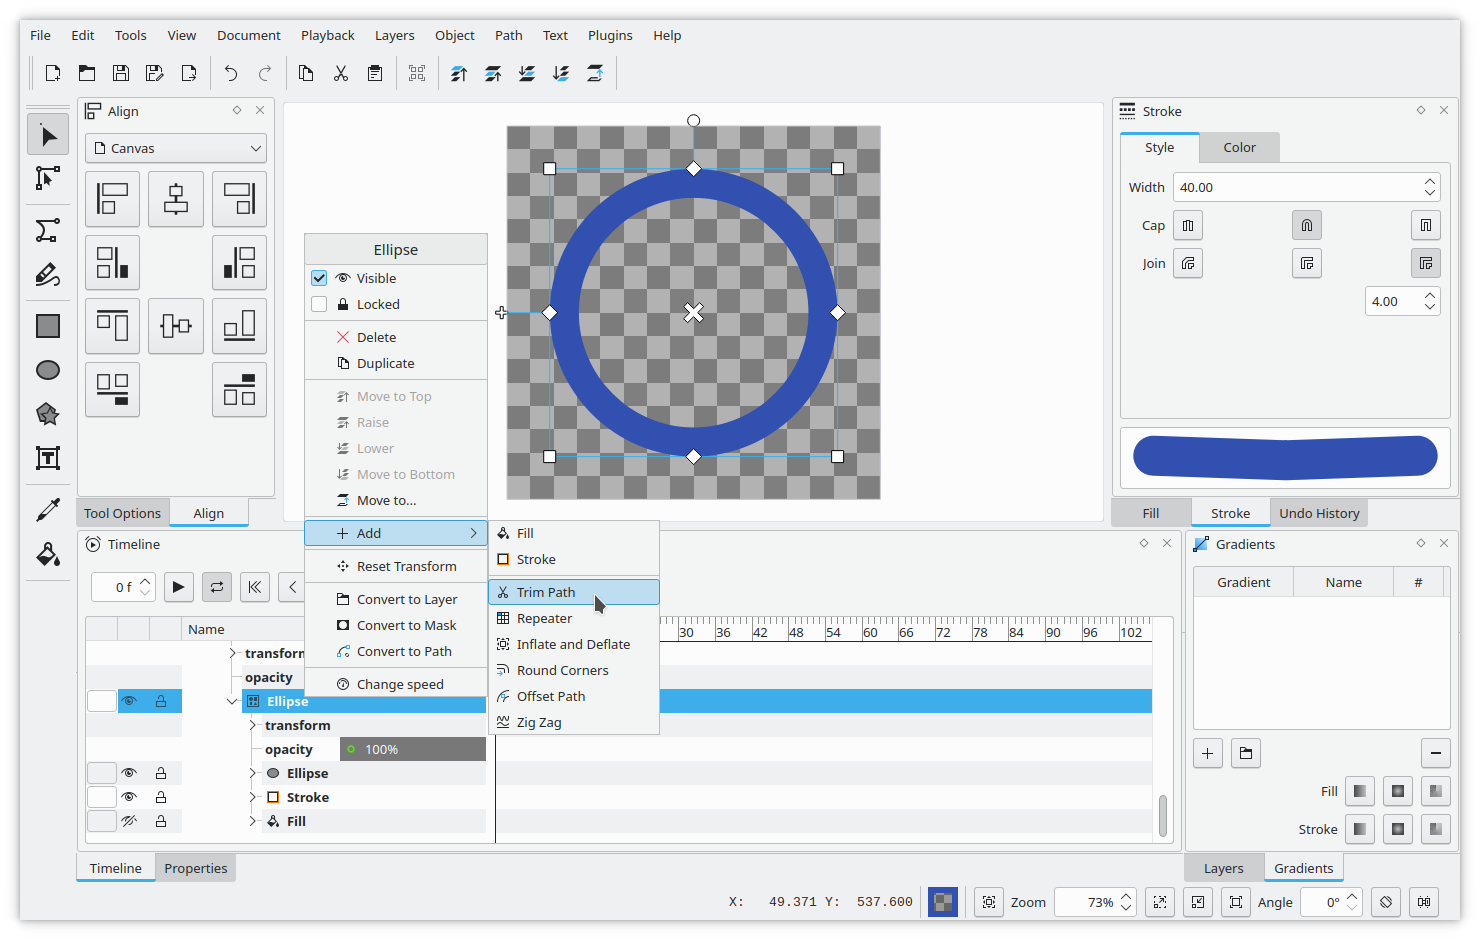
Draw a Circle
Draw a circle for the spinner. You can do this by selecting the "Ellipse" tool from the toolbar. Ensure in the tool options the Fill is disabled and Stroke is enabled. Click and drag on the canvas to create a circle of the desired size. If you hold Ctrl, Glaxnimate will ensure the ellipse is a perfect circle.
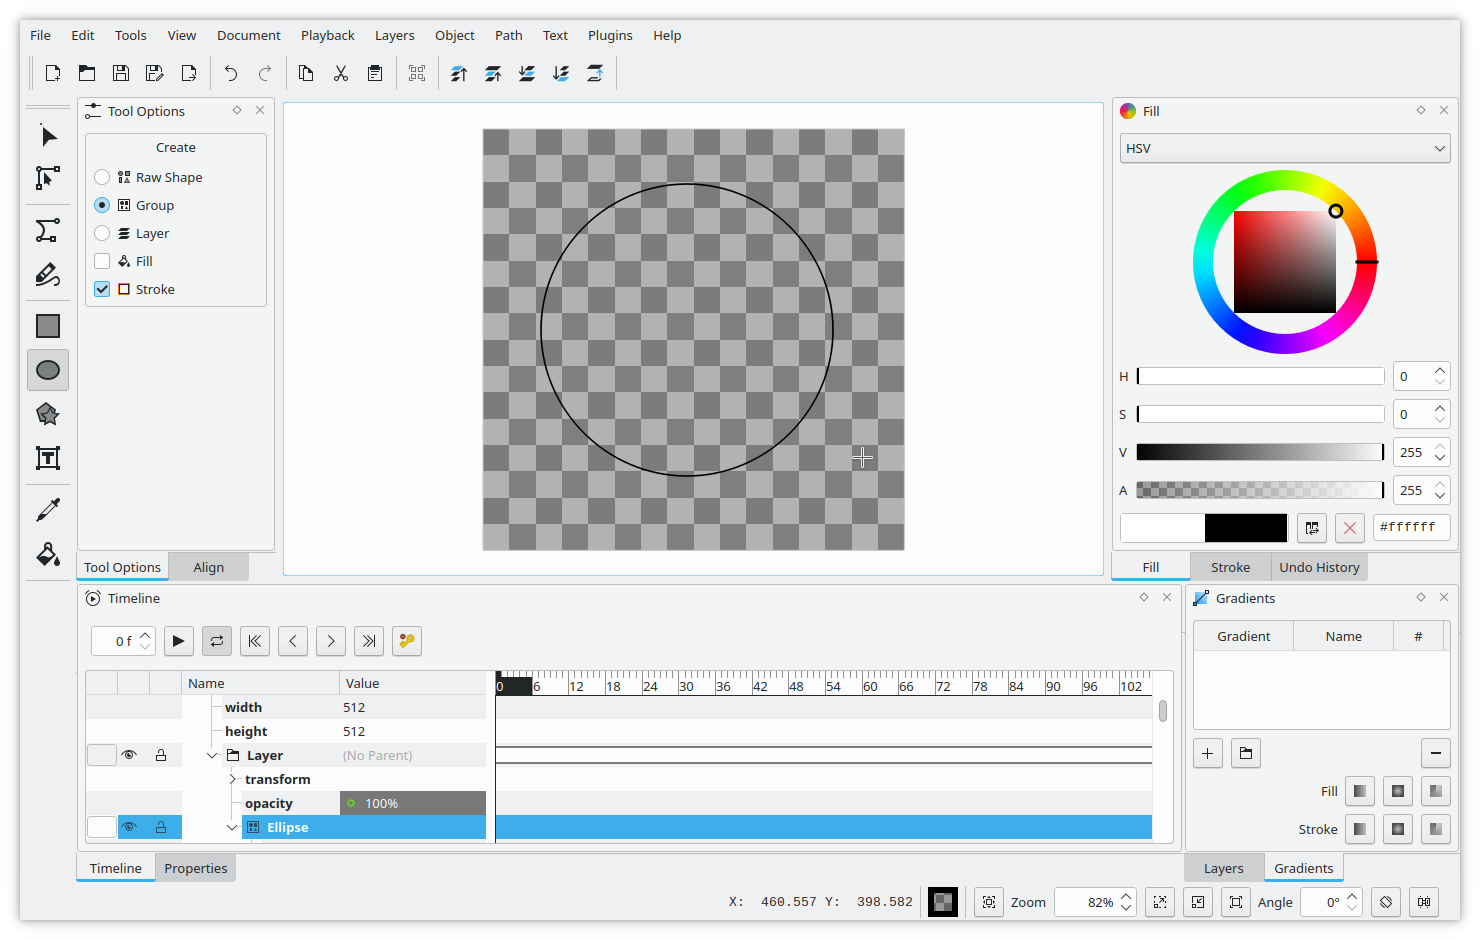
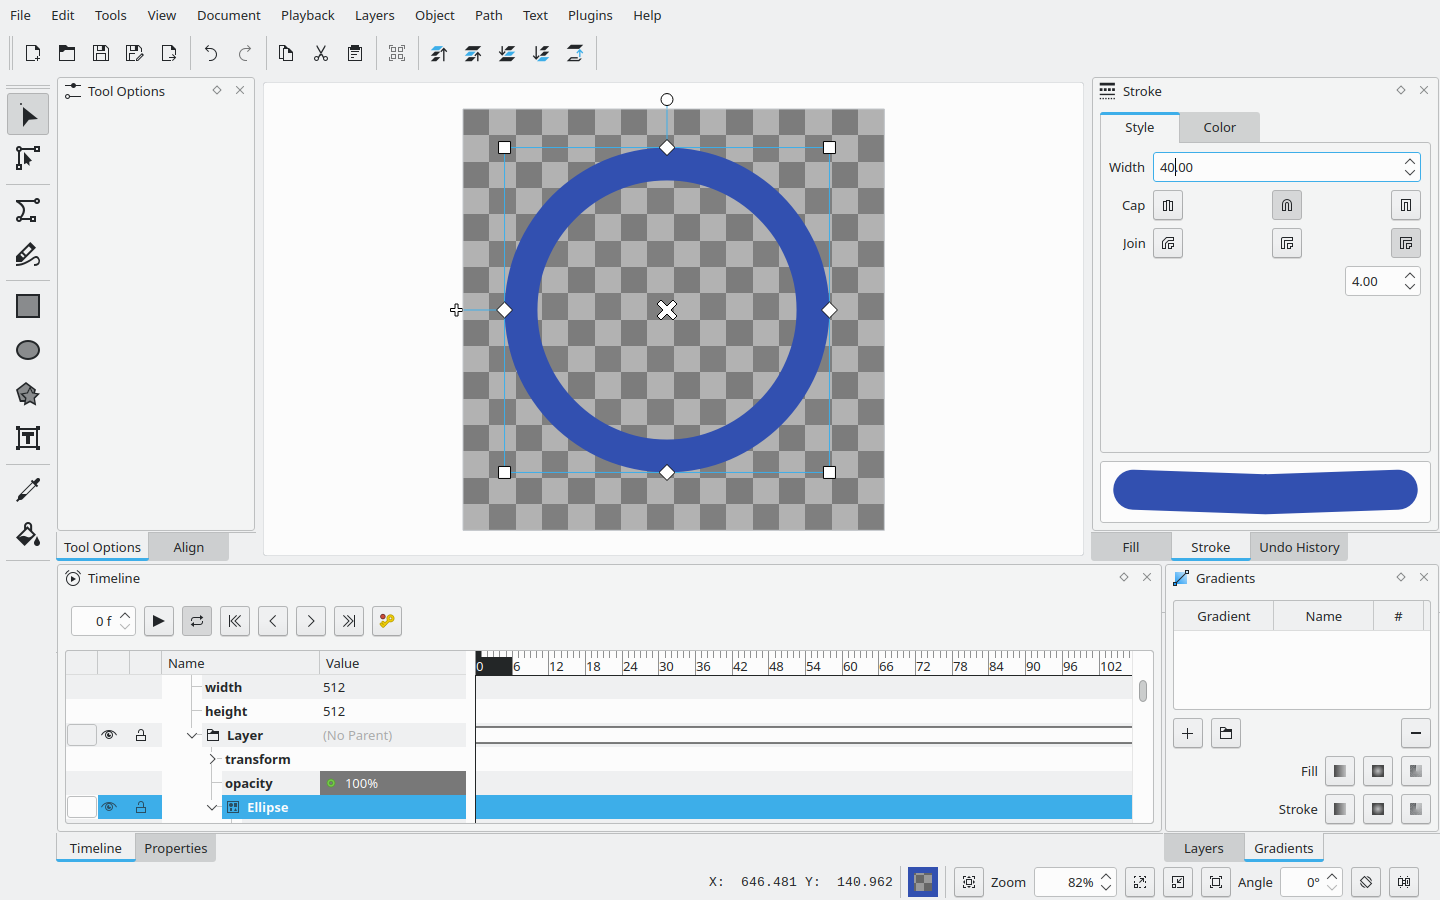
You can change the stroke color and thickness, as well the cap style to Round.
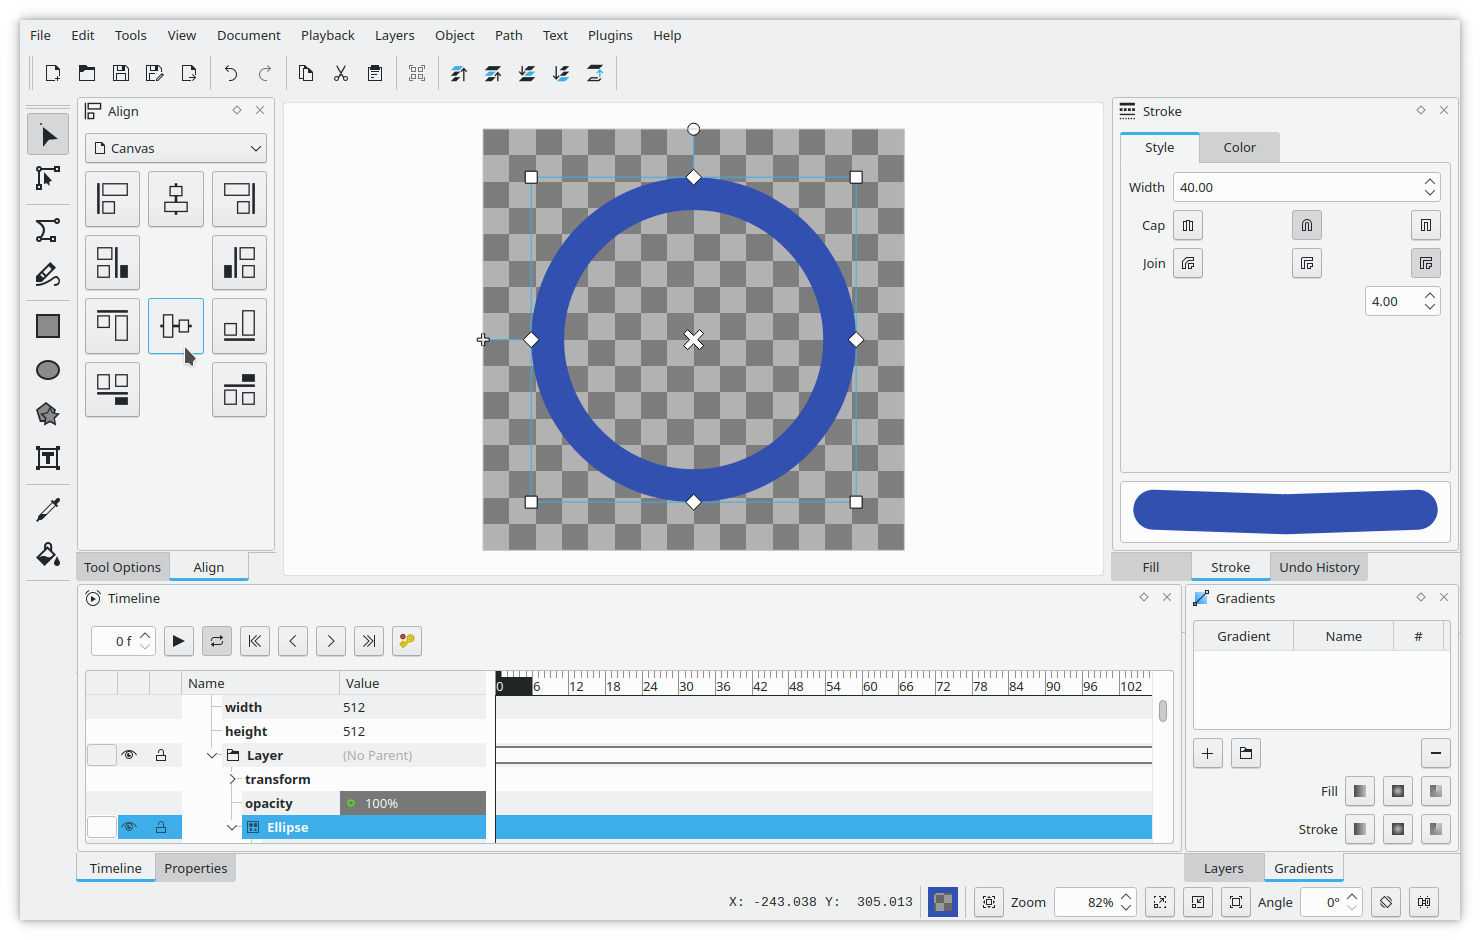
To align the circle at the center of the canvas you can use the align view, just make sure you select Canvas from the dropdown.
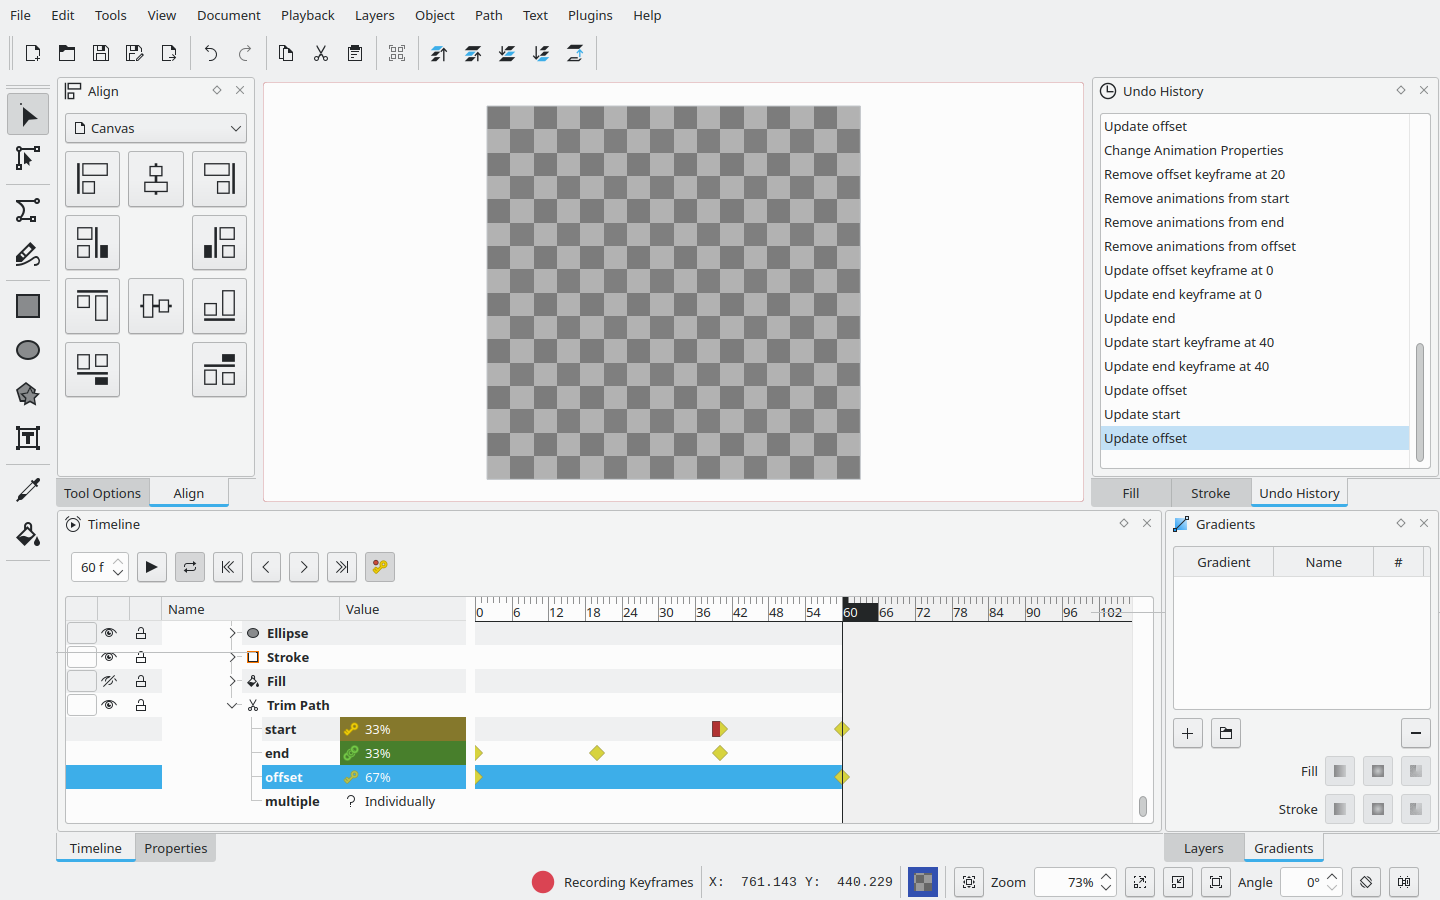
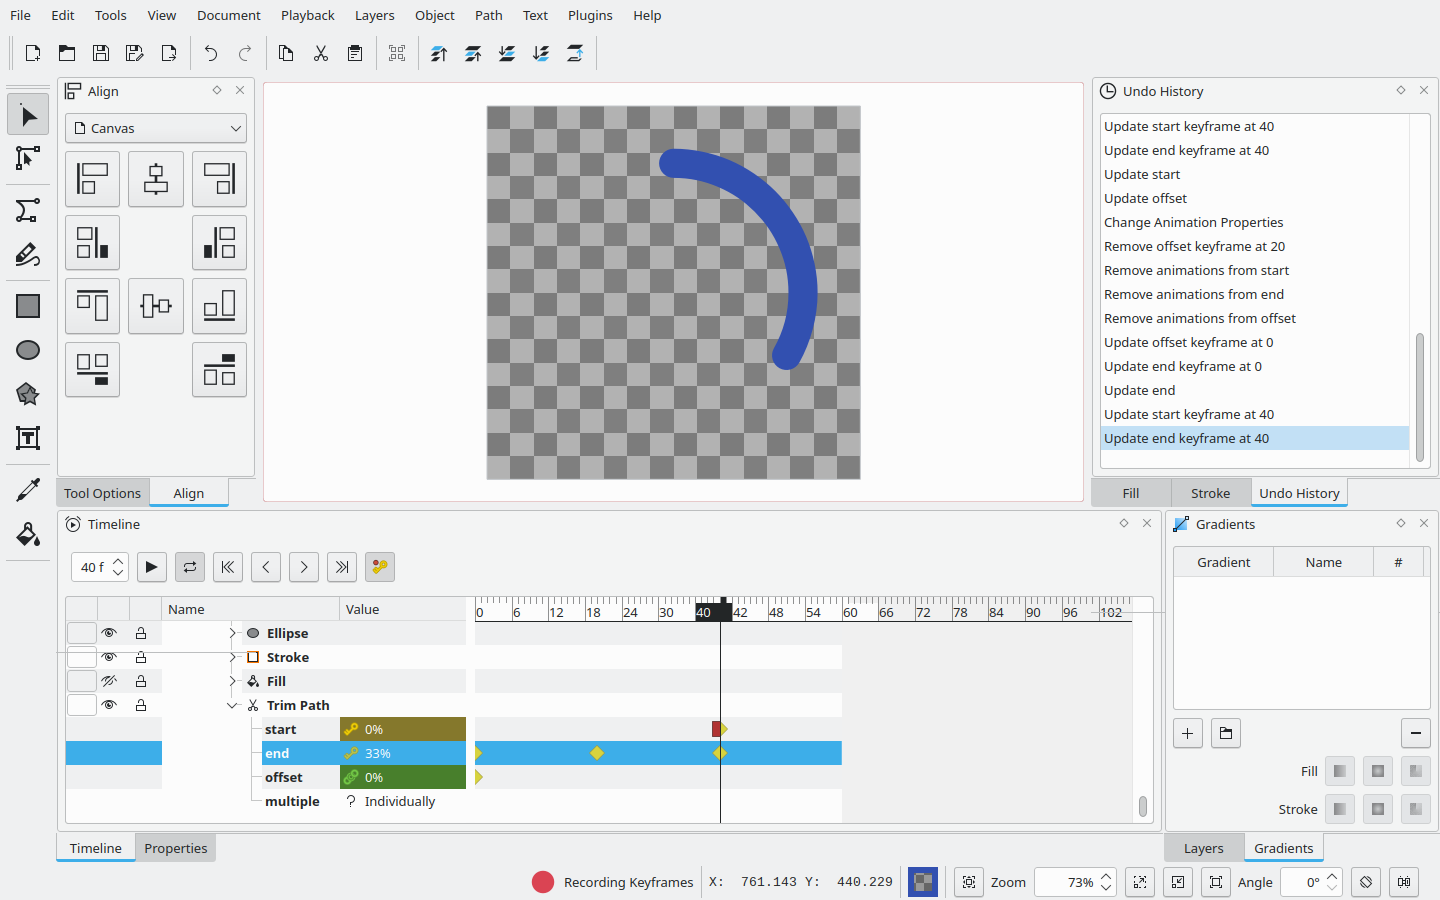
Trim Path
The Trim Path is a modifier that allows you to animate a shape being "drawn" and similar effects.
We will use it to make the loading spinner appear, go around, and disappear.
To add it, you can right click on the Ellipse group in the timeline, then select Add and Trim Path.
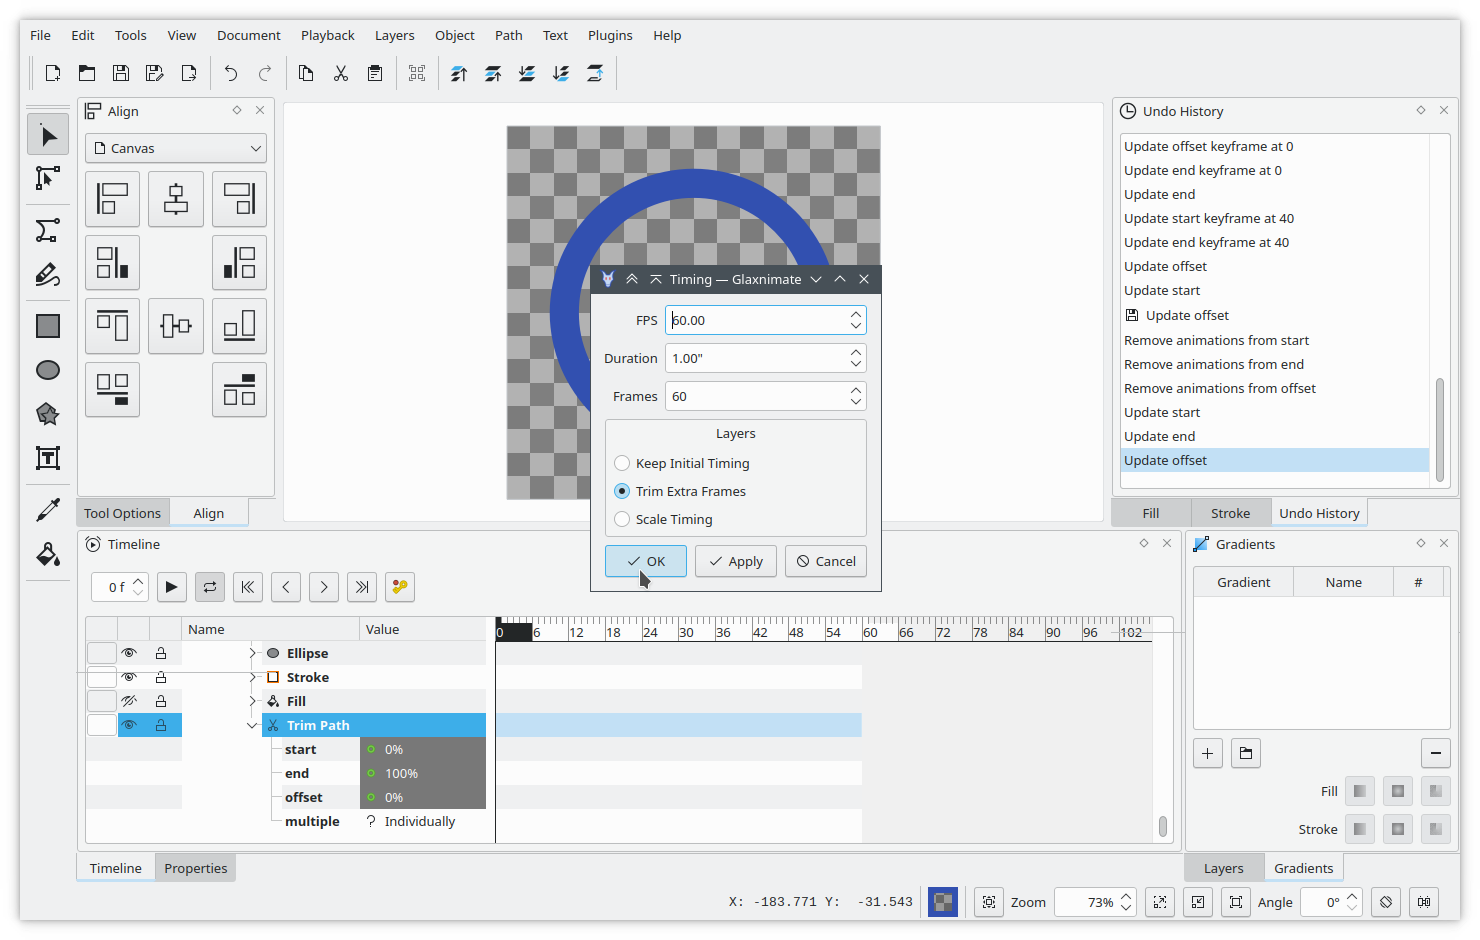
The animation is going to be 60 frames long, ensure you have the correct timing from the document timing dialog.
Adding Keyframes
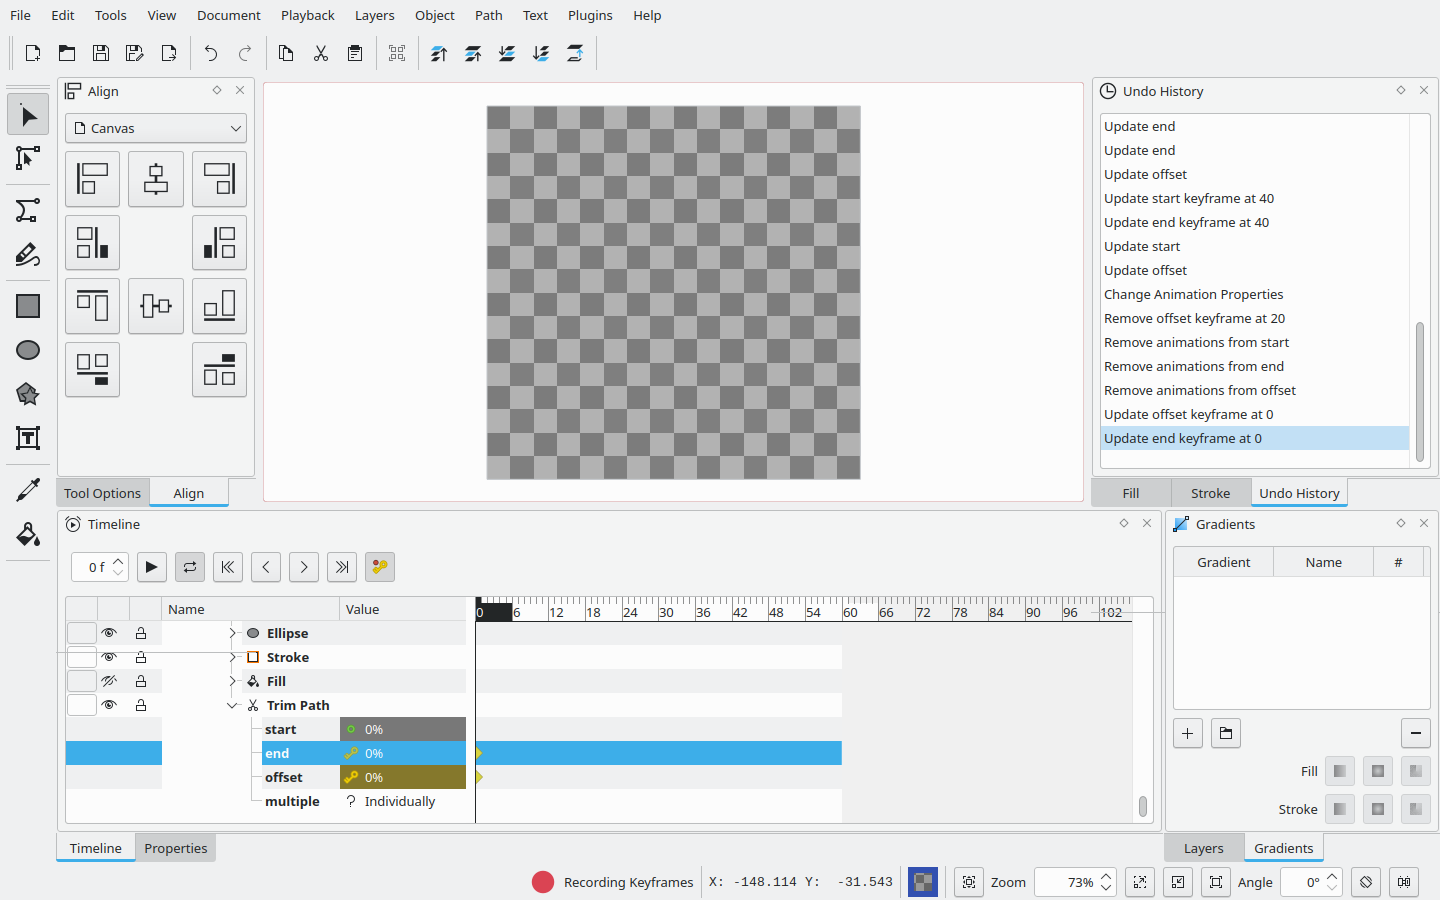
We will now add some keyframes on the trim path properties.
To add a keyframe ensure you have the correct frame selected, change the property value, then right click on the property track on the timeline and select Add Keyframe.
At frame 0 add a keyframe setting end and offset to 0%.
This will hide the circle as there's nothing between start and end on the trim path.
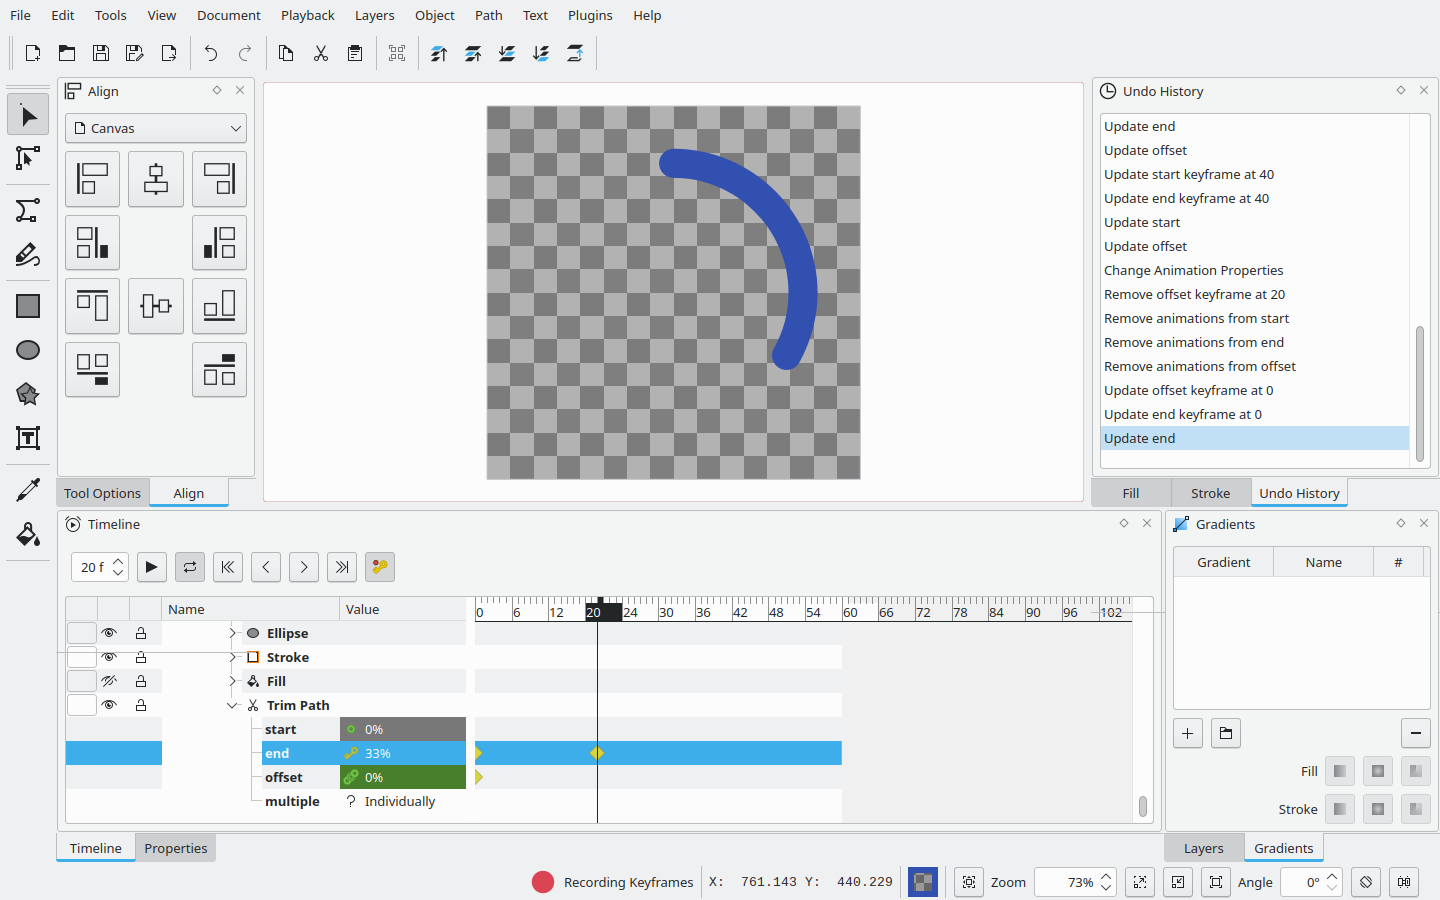
At frame 20 add a keyframe setting end to 33%.
This adds the first phase of the animation, a segment of the circle appearing from the top.
At frame 40 add a keyframe setting start to 0%.
At frame 60 add a keyframe setting start to 33% and offset to 67%.
This will make the spinner disappear in a similar fashion to how it appeared.